

In the last few blogs we covered have covered Kubernetes in great detail. We started with an overview of Kubernetes and why it is one of the most important technologies in cloud computing today.
We also spoke about what Kubernetes architecture looks like and how you can use Kubernetes using a simple kubectl tool. In this blog, we will cover everything you need to know about Kubernetes Namespaces.
Let’s get started.
What is a Kubernetes Namespace
A cluster in a Kubernetes infrastructure is a collection of resources. Namespaces allow Kubernetes divide a cluster into logical units and give a unique name to it. It provides a mechanism to logically isolate a group a resources within a cluster.
This especially helps in environments when there are multiple users spread across a multi-tenant infrastructure. Let’s look at some of the common use cases of Namespaces.
Some common use cases for Namespace
Resource quota
Namespaces help divide resources amongst multiple users and want to limit the use of resources for each user. With Namespaces, it becomes easier to assign resource quota to users and teams in an infrastructure.
In environments where multiple users or teams share a cluster with a set of nodes, resource quota helps in keeping any one user/team from consuming all the resources. Once the resources are given a name as a Namespace, the administrator can set various limits to resources in the cluster.
For example, we can set the total resource consumption for a namespace or limit the number of objects allowed in that namespace. We can even set a limit to the amount of compute resources that the resources in a namespace can use. The different teams can be set in different namespaces assigned via RBAC.
Applying policies
With Namespaces, it becomes easy to isolate a set of resources within a cluster and apply various policies to them. For example, the resource quota explained earlier could be a policy. You can also apply network policies that define how pods in a namespace talk to each other.
Access control
Namespaces also allow us to have RBAC-based access controls. You can define role objects and assign them to namespaces. This can help improve the security of the cluster, especially in a multi-tenant infrastructure.
Initial Namespaces in Kubernetes
Each resource within a namespace must have a unique name. Although, you may have resources with the same name in different namespaces. One namespace cannot be nested within another namespace. Also, any resource can only be a part of one namespace. You cannot assign a resource to two or more namespaces.
default
This is the default namespace that is assigned to all objects which have not been explicitly assigned any namespace.
kube-node-lease
This namespace helps detect node failure. It holds objects called Lease objects that allow kubelet to send heartbeats to all nodes in the cluster. This helps the control plane monitor all nodes and know when a node fails.
kube-public
As the name suggests, this namespace allows resources to be visible and readable publicly by all clients, irrespective of whether they are authenticated or not. This is useful when any of the resources in a cluster needs such a feature.
kube-system
Kube-system namespace is the default space for Kubernetes system objects. All objects, including kube-dns, kube-proxy and ingresses are part of this namespace. This namespace should not be used for regular objects.
Working with Namespaces
Let us now look at some of the common kubectl commands that you would need while working with Namespaces. If you haven’t heard of kubectl, you can learn more about it in our blog here.
Listing all namespaces
To see the list of all namespaces in a cluster, you can run the below kubectl command:
$ kubectl get namespace
You will see an output similar to below:
It provides the list of all namespaces with status and time period since they have been in existence.
Create a new namespace
You can create a new namespace with default configuration using the below command:
$ kubectl create namespace mynamespace
You can also create a namespace YAML file and apply it using the kubectl command. The benefit of this approach is that it can help in creating a custom configuration.
Here’s a sample YAML creating the same namespace as with the earlier command:
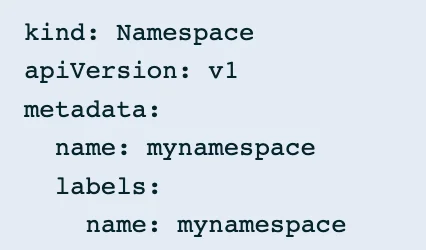
You can now apply the above YAML file (say mynamespace.yaml) with the below command:
$ kubectl apply -f mynamespace.yaml
Creating new resources in a namespace
You can use the same apply command to create new resources in a namespace. All you need to do is create a YAML file (say, new_pods.yaml) like the one below. In this example, a pod with Nginx containers is defined.
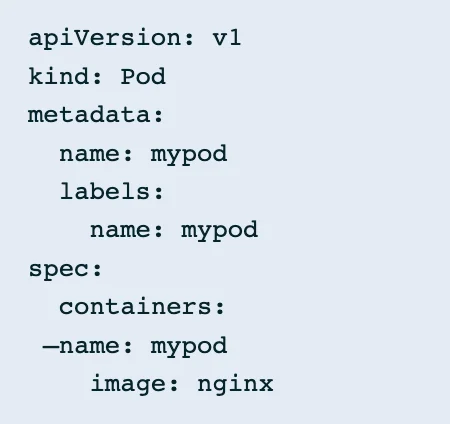
In order to apply it to, say, a namespace called “mynamespace”, run the below command:
$ kubectl apply -f new_pods.yaml –namespace=mynamespace
This will apply the specifications in the YAML file to the mentioned namespace. If no namespace is mentioned, then the pods are created in the default namespace.
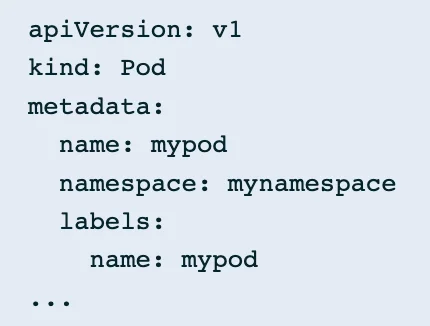
You can also mention the namespace within the YAML file itself. In that case, the same YAML would look as below.
You could also use the kubectl command to create new resources directly. To create nginx containers in the same namespace, the command would be as follows:
$ kubectl run nginx –image=nginx –namespace=mynamespace
List pods in a namespace
You can list the pods in a namespace with the below command:
$ kubectl get pods –namespace=mynamespace
Get details of a namespace
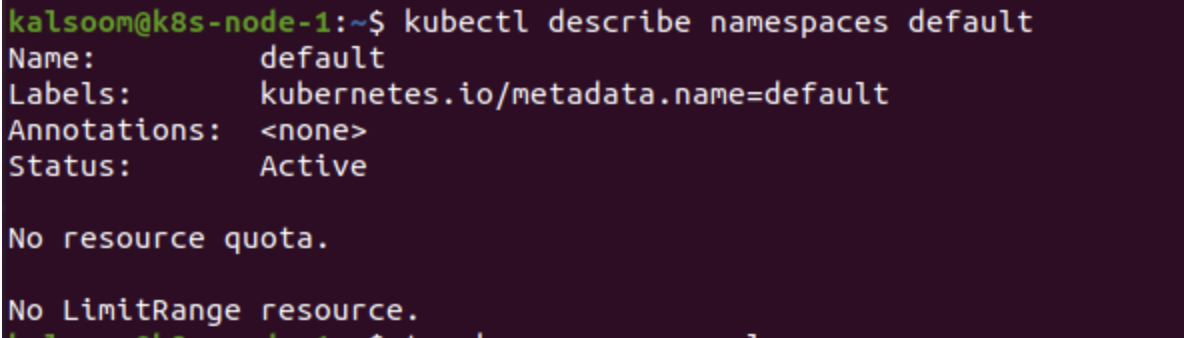
If you wish to know about any namespace in greater detail, you use the describe option in the kubectl command. The command to see details about the default namespace will look as follows:
$ kubectl describe namespaces default
A sample output of the above command will looks like this:
Switch between namespaces
We saw earlier that to address namespace for one particular command, you can use the –namespace option in the command. To change the default namespace you use in all kubectl commands in future, you can run the below command:
$ kubectl config set-context –current –namespace=mynamespace
This will set the new default namespace as mynamespace.This means in all future commands, the namespace will be assumed to be mynamespace unless otherwise mentioned.
Deleting a namespace
If you wish to delete an existing namespace you use the delete option in kubectl. Here is how you would delete the mynamespace namespace we created earlier:
$ kubectl delete namespaces mynamespace
When a namespace is deleted, everything inside it goes with it. So, all resources associated with the namespace are also deleted.
When to use namespaces
Namespaces are useful when there are a large number of users or teams using the same cluster resources. Here are some main reasons why multiple namespaces can be a great idea:
- If you wish to isolate some resources in a cluster from others, namespaces is the best way to achieve that. This can be useful when multiple teams work on the same cluster and need a level of separation between each other.
- Namespaces can also be used to create an environment-level of separation. Meaning we can create namespaces within a cluster that resemble development, testing, and production environments. Since one resource cannot be a part of multiple namespaces, it helps teams to create different development stages for resources within the same cluster.
- Security and access control have a huge upside with namespaces. You can define RBAC-based access control to namespaces which can ensure only certain users can have access to certain resources with a cluster.
- Namespaces also help in the more efficient utilization of resources within a cluster. With Resource quota, it helps the Kubernetes admin to control the amount of resources any user or team will have access to. This is a great help in a multi-tenant infrastructure. But it can also help in dividing resources between different projects.
- Namespaces reduce the number of objects Kubernetes API has to go through to finish a command execution. This improves the performance of each API, thus makes using namespaces very useful in improving the performance of the overall Kubernetes system.
Taikun – the Kubernetes Engineer
Although knowing the internals of Kubernetes helps greatly in working with it, enterprise-level implementation would require many Kubernetes and cloud engineers to work together to make it secure and efficient.
The cost burden of such an implementation often discourages many businesses to move to complete cloud implementation of their infrastructure. This is Taikun can be a savior. With Taikun’s intuitive management console, you can not only implement complex Kubernetes-based setups quickly but also monitor them actively for any errors or failures.
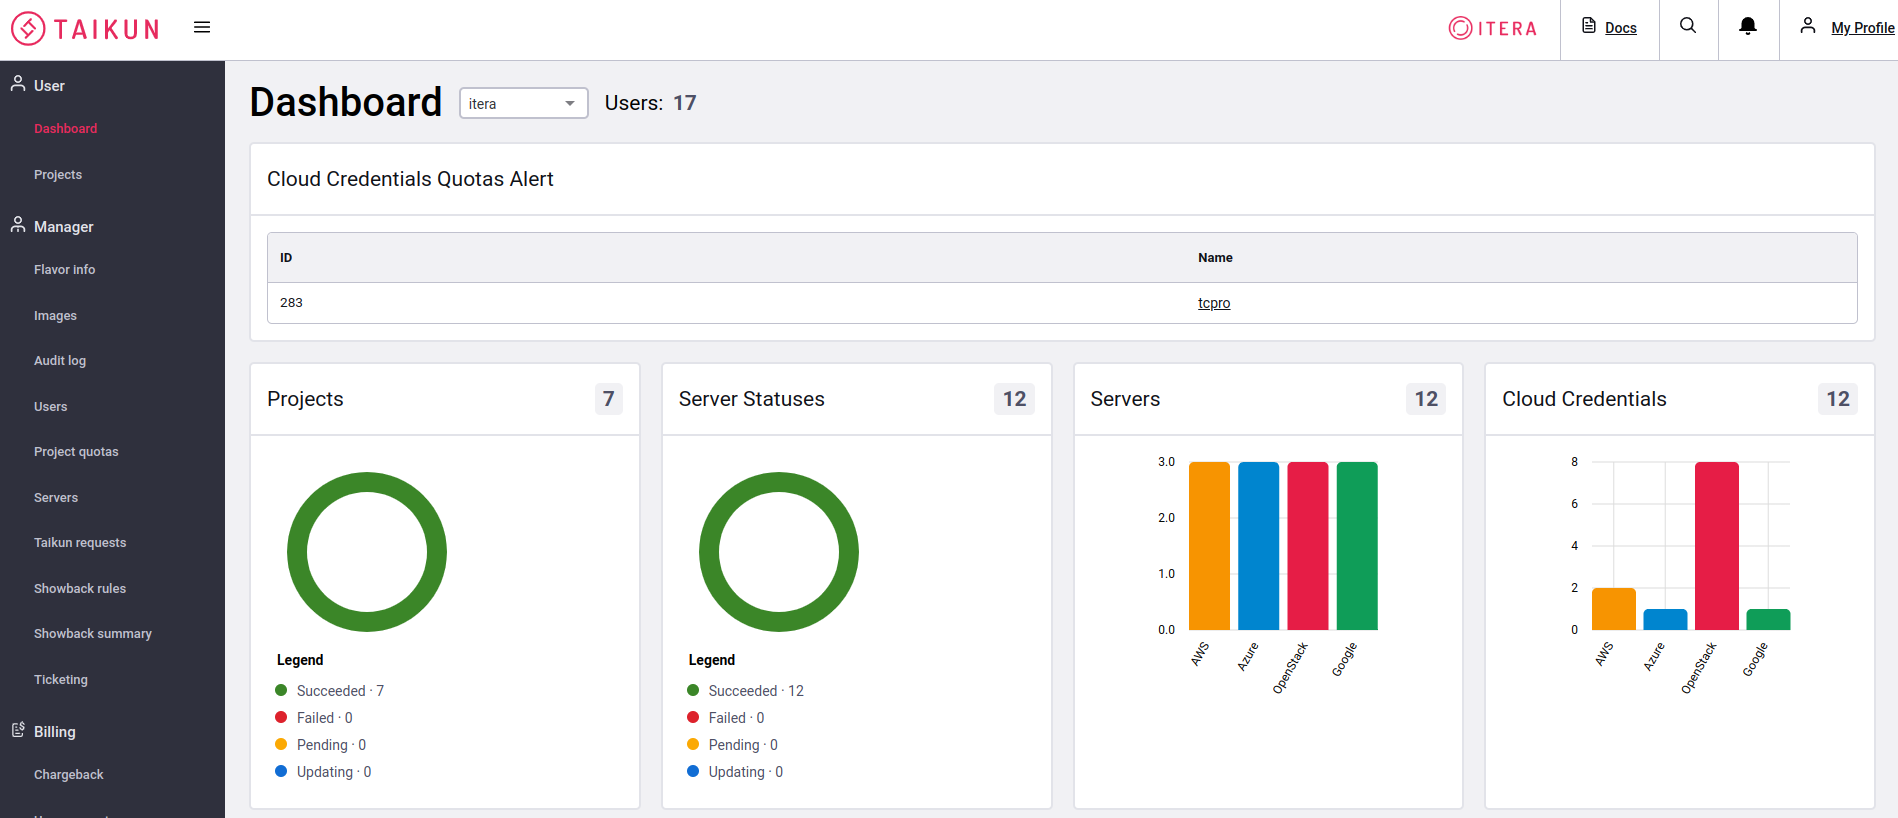
The granularity of controls that Taikun dashboard provides is equivalent to having an entire team of cloud experts at service 24 hours and 365 days a year. Taikun works with private, public and hybrid cloud setups. It can support multi-tenant architectures and deliver on complex infrastructure needs.
This makes it a perfect choice for businesses of all sizes. You can try a free trial of Taikun online right now or talk to sales to request for a custom demo.


